Locking systems for lockers
 Management of panels and buttons for CC4000(Windows) POS is done under Product management and POS panel buttons (CC4000)
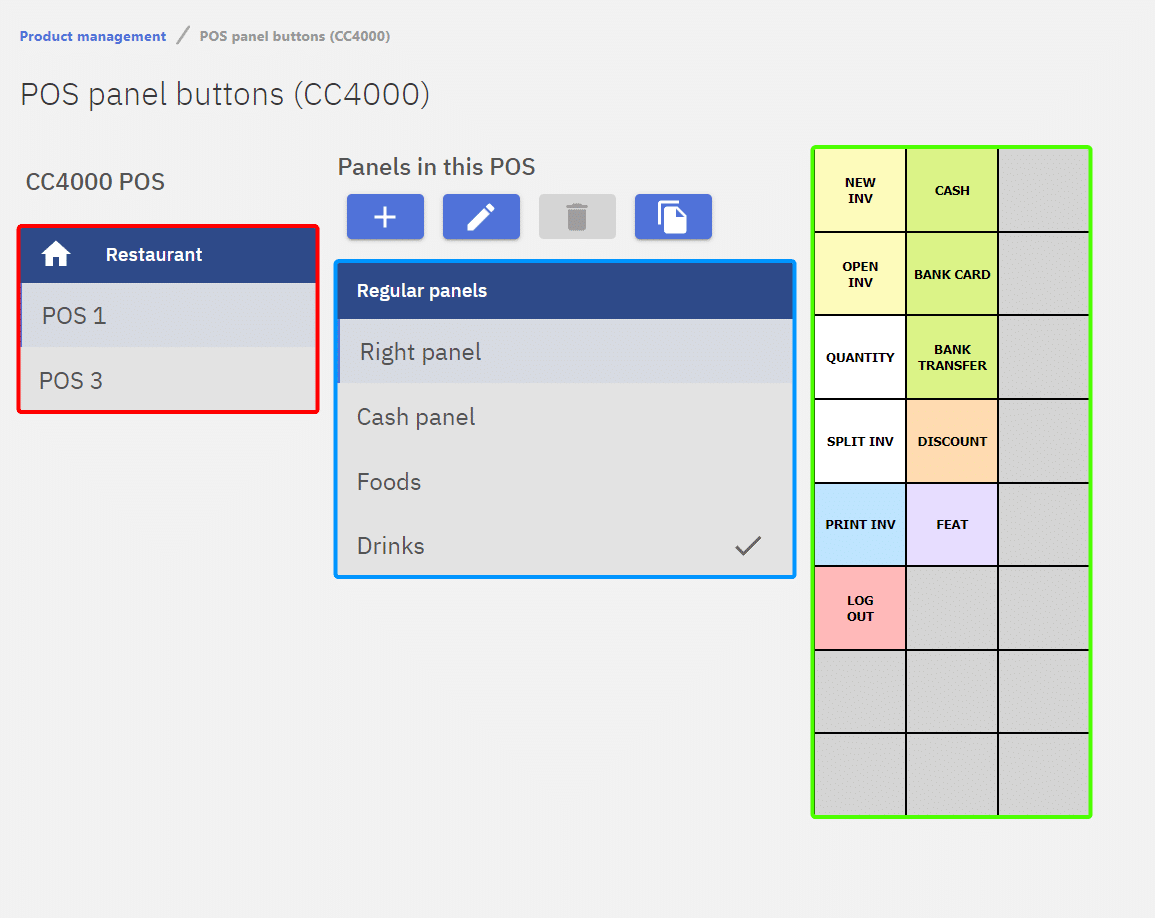
User interface
In this module, the layout is divided into 3 main sections:
– POS list (Red): Displays the POS-es
– Panel list (Blue): Shows the panels active in the currently selected POS
– Panel contents (Green): Displays buttons on the selected panel
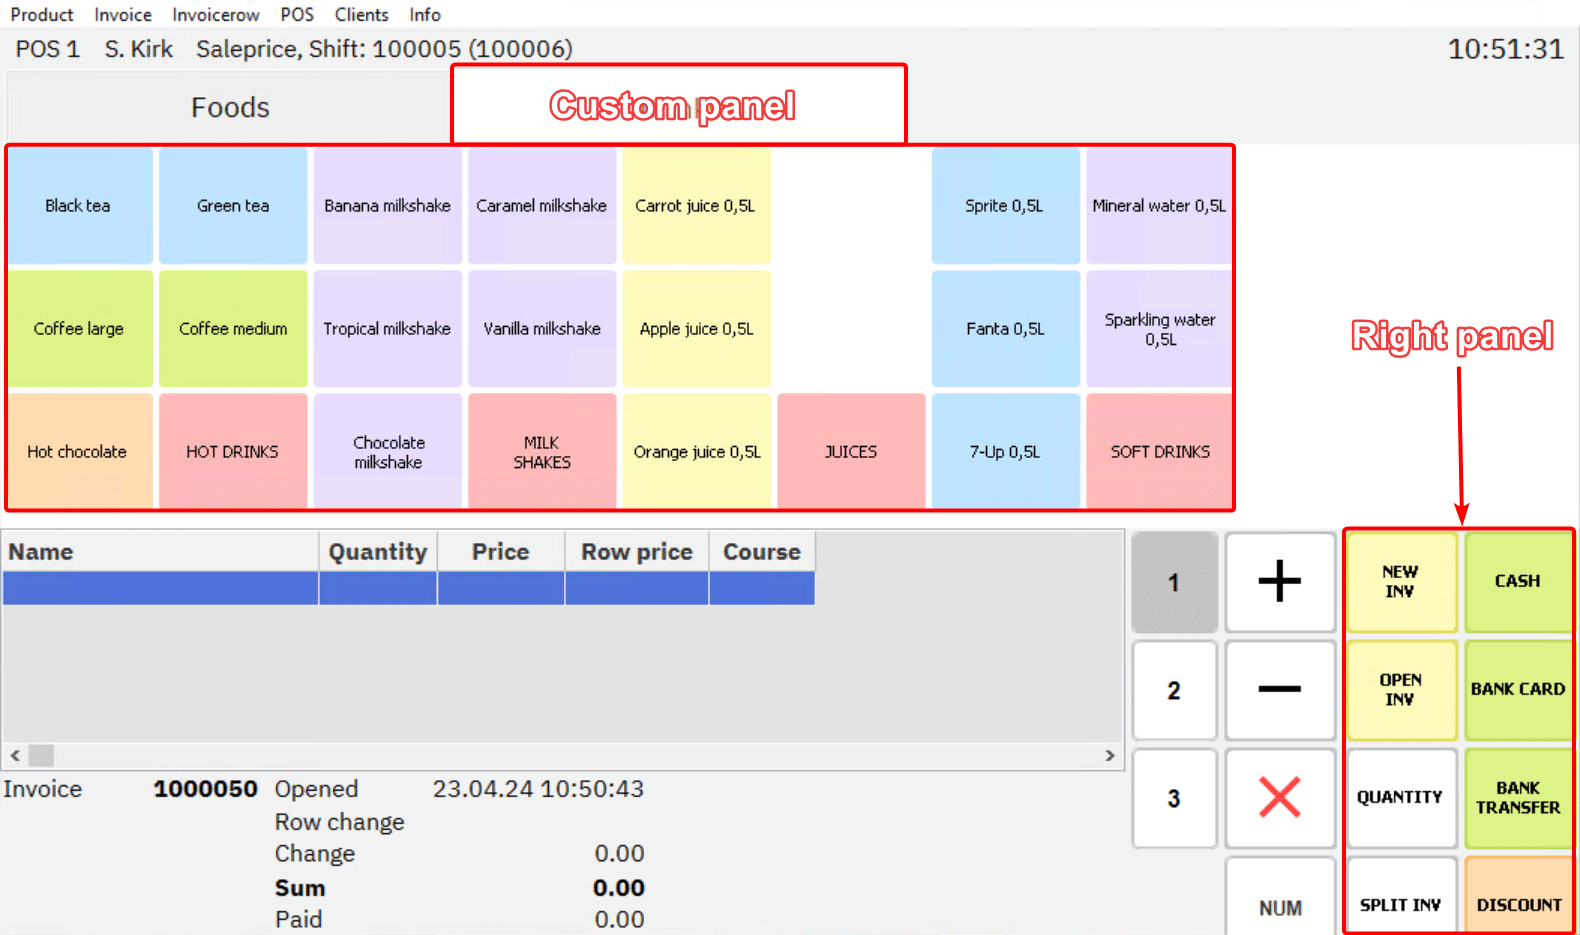
Panels
Panels consist of buttons and are displayed as tabs in the POS. Panels are specific to each POS, meaning that changes made in one POS will not reflect in others.
Types of panels:
1 – Right panel – This panel consists mostly of action buttons, is always visible on the right side of the POS interface.
2 – Custom panel – This is the most common type of panel, used for product or group buttons. A POS system can have multiple custom panels.
3 – Subpanel – Unlike other panels that display as tabs, a subpanel can be assigned as a button
This guide will focus on creating and configuring Custom panels.
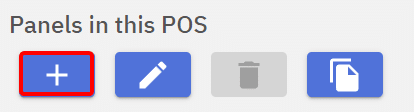
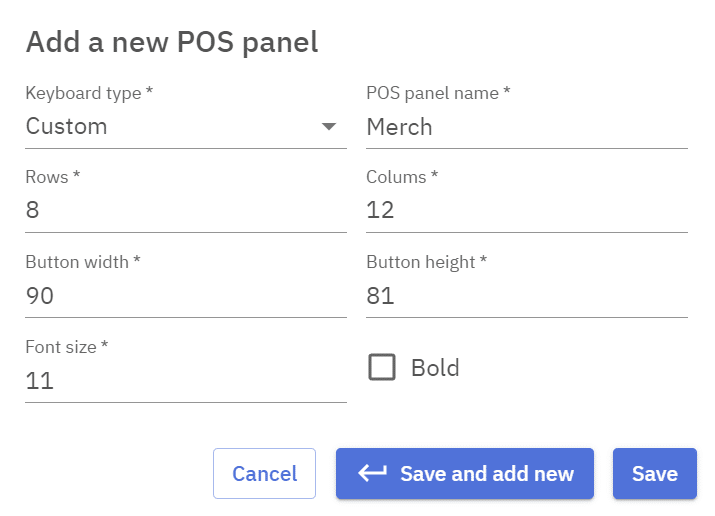
Creating a new panel
A panel can be added by clicking the Add button.
Multiple configurations are available to customize the panel.
– Name is displayed as text on the tab, this should be describing the buttons on the panel
– Rows determines how many rows of buttons the panel will have
– Columns determines the number of columns, larger screens may fir more rows/columns
– Button width/height is the width/height of a button on the panel
– Font size is the size of the the text on a button
– Bold makes the text on a button appear in bold
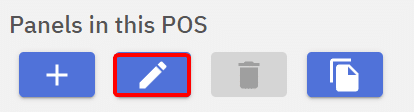
Modifying an existing panel
An existing panel can be modified by clicking the Edit button.
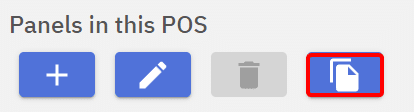
Copying panels between POS-es
A panel, along with its buttons, can be created for one POS and then copied to others using the Copy button. This feature allows for efficient duplication of panels across multiple POS-es.
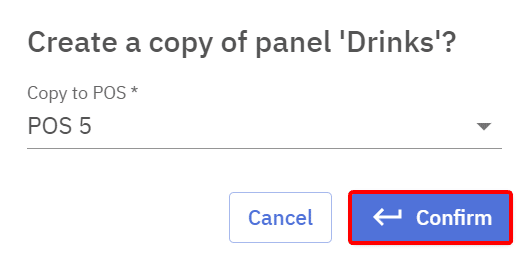
Select the POS where to duplicate the panel and click Confirm.
Buttons
Buttons are placed on panels and can be used to add products to an invoice, represent groups of products or fulfill different functions.
There are multiple types of buttons:
– Product is used to add products to an invoice, this is the most common type of button
– Group button is a button that lists all products in a product group as buttons
– Quantity will set the quantity of a product row to an assigned value
– Actions buttons represent different functions for the POS
– Discounts can be assigned to a button to easily apply a discount
– Payment types can be used to create payment buttons
– Subpanel type button will allow subpanels to be assigned under buttons
Creating a button
Buttons can be added to panels by selecting the panel and clicking on an empty space
This opens up the button creation window, from there select:
– Button type
– Connected object – depends on button type
– Button label – this will be displayed on the button, product name will still be displayed on the invoice
– Button color
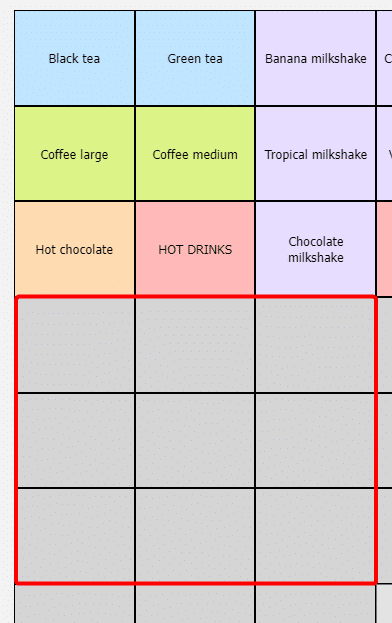
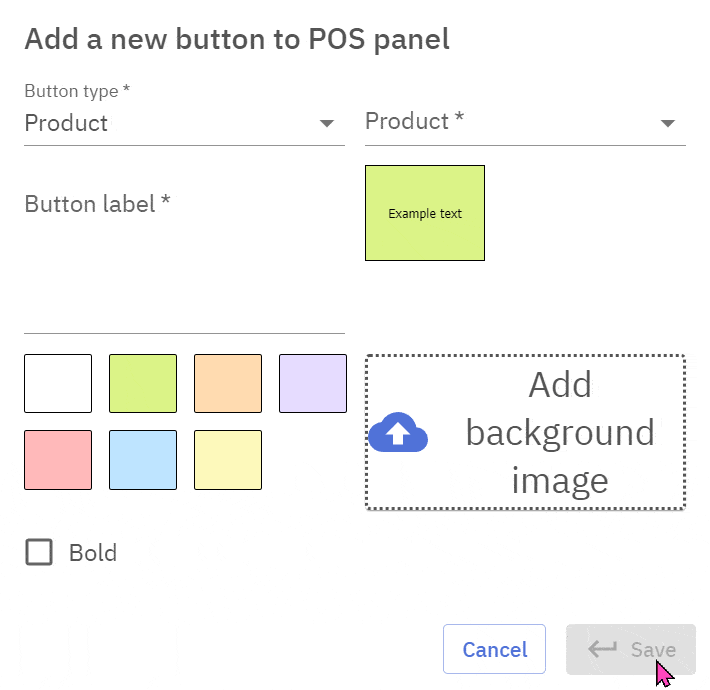
Button color along with it’s placement should be used to make the panel more understandable to the worker.
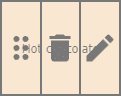
Modifying and deleting buttons
To modify or delete a button move the cursor onto the button.
Buttons can be rearranged dragging them.