Locking systems for lockers
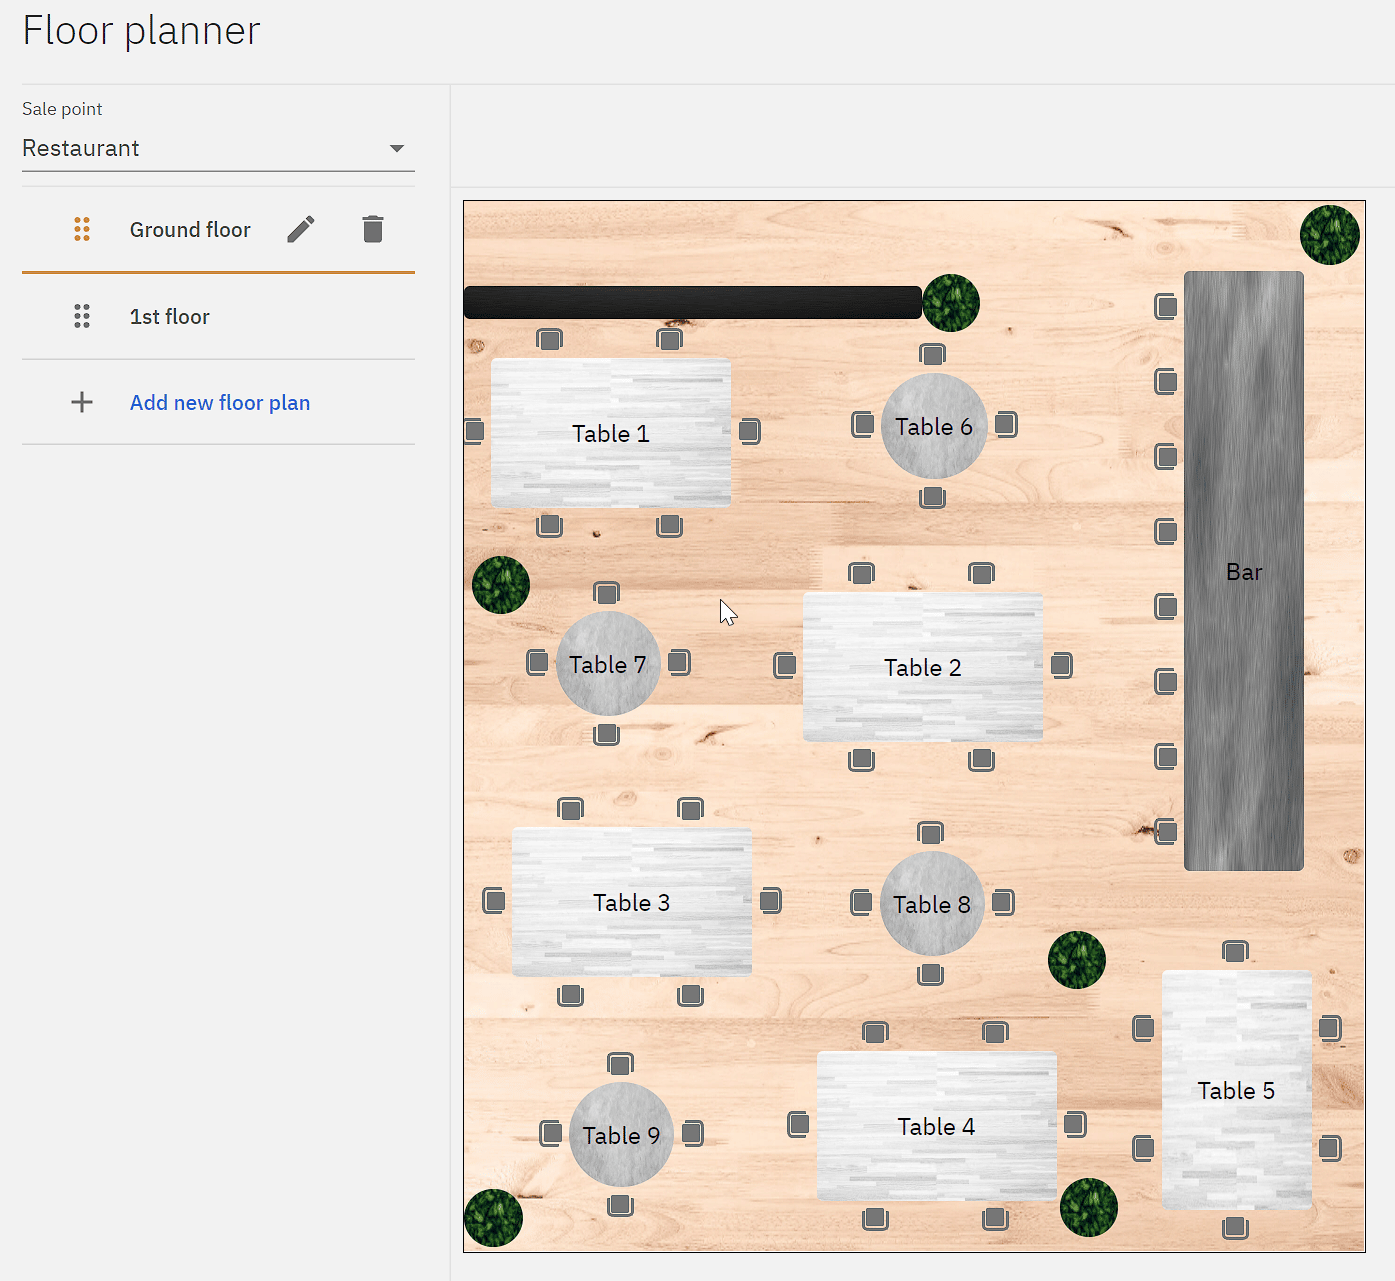
 Floor planner for Compucash can be found under Settings and Floor plans. In this module existing floor plans can be modified and new ones added. Floor plans are used in the POS to assign an invoice a table number using a graphical interface, this interface can also be configured to show which tables have invoices assigned to them and are busy.
Floor plans are sale point specific and multiple floor plans can be created for one sale point.
Example: a separate floor plan for ground floor and 1st floor
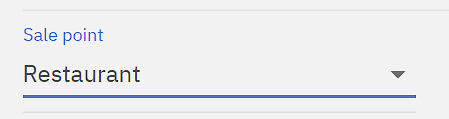
Tables are sale point specific and can be managed under Settings – Floor plans and Table numbers.
When configured, a table number can be asked whenever opening up a new invoice in the POS. Table numbers can be configured with Floor plans module to create a visual representation. Table numbers are displayed in the opened invoices list, on order receipts and on kitchen display screens.
Modifying tables
Adding
Tables can be added to a sale point by hovering on the sale point name and clicking the Add button
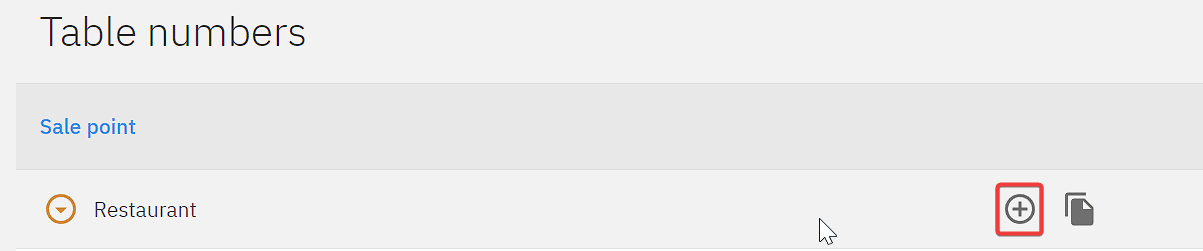
In the pop-up window a name for the table can be set. When adding multiple tables clicking Save and add new can be used to open up the pop-up window right away.
Deleting a table
Table can be deleted by hovering on the table, and then clicking on Delete button.

This action cannot be undone.
Editing a table
Table name can be edited by hovering on the table name and clicking the Edit button.

Copying tables between sale points
When tables have been created in one sale point they can easily be copied to another.
This can be done by hovering on a sale point and clicking on the Copy button.

From the pop-up menu selecting the destination sale point and clicking Save will copy buttons from one sale point to another.
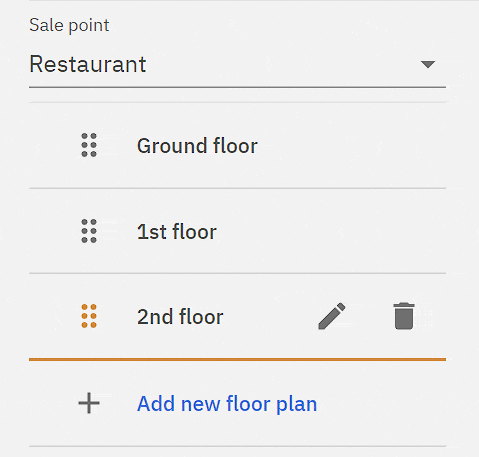
Creating a new floor plan
1 – Select the sale point which to the new floor plan will be created
2 – Click Add new floor plan and assign the name and dimensions

Name and dimensions of floor plans can be modified by hovering on the floor plan name and clicking the Edit button.
The order in which the floor plans are displayed in the POS can be changed by dragging the floor plans.
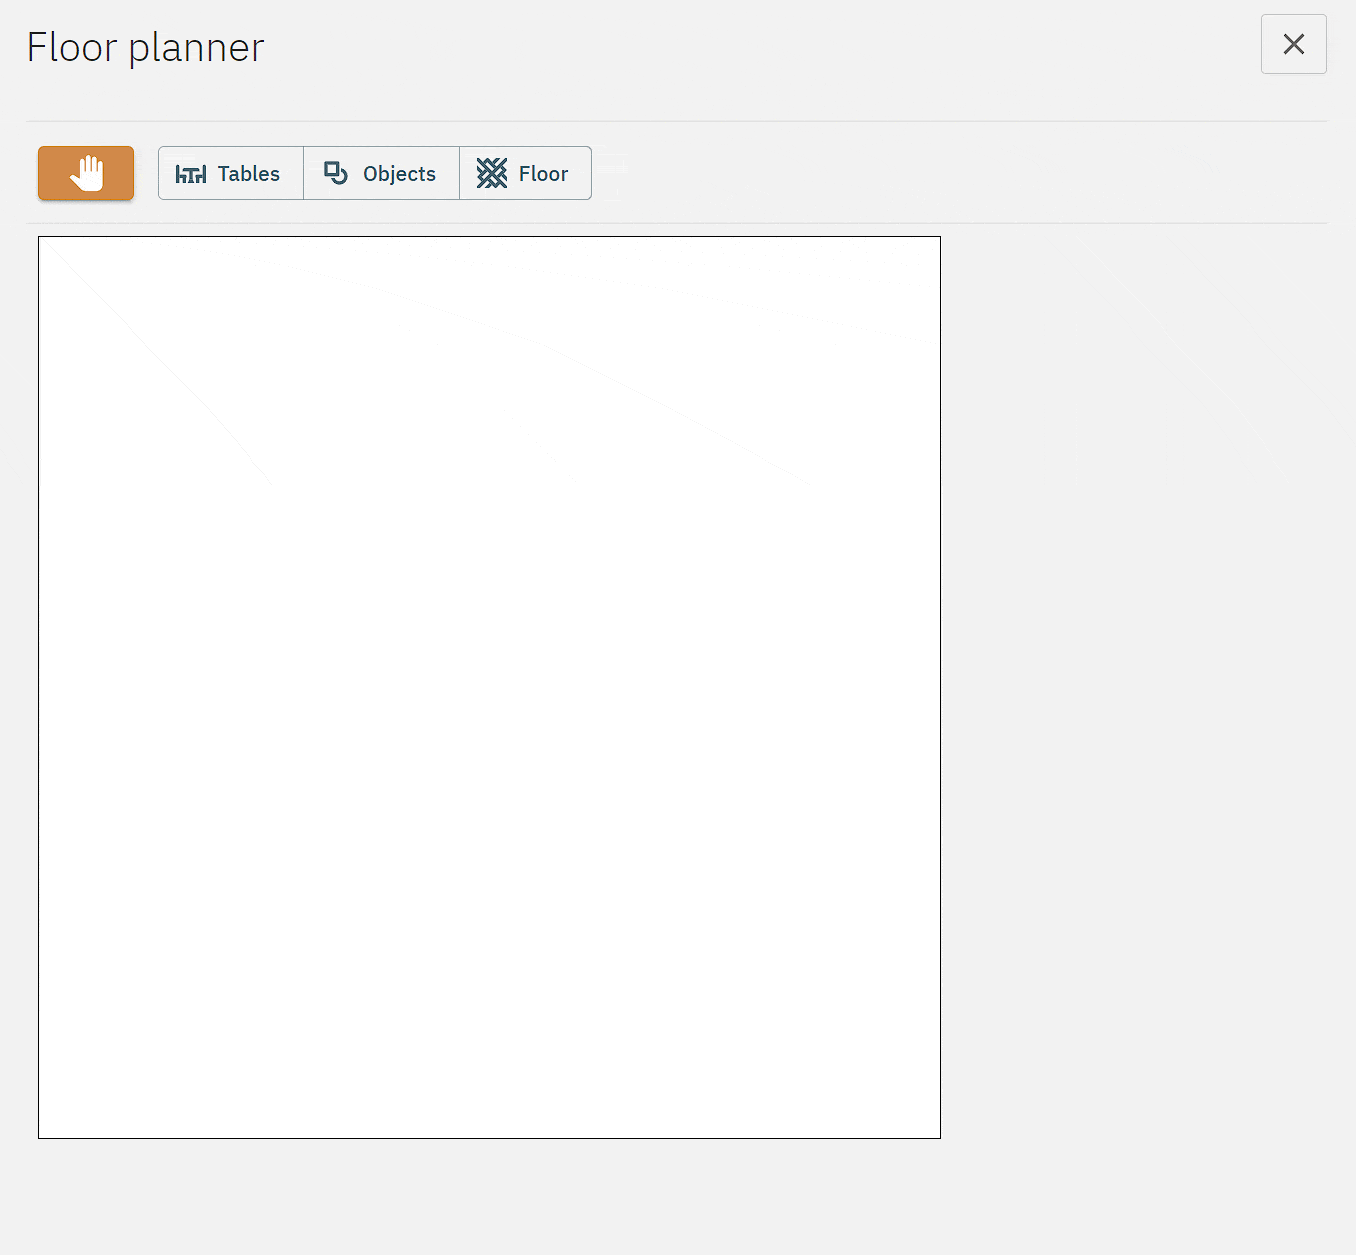
Editing and adding objects to the floor plan
To modify a floor plan, it must first be selected on the left, then on the right side clicking Edit floor plan will bring up the floor plan editor.
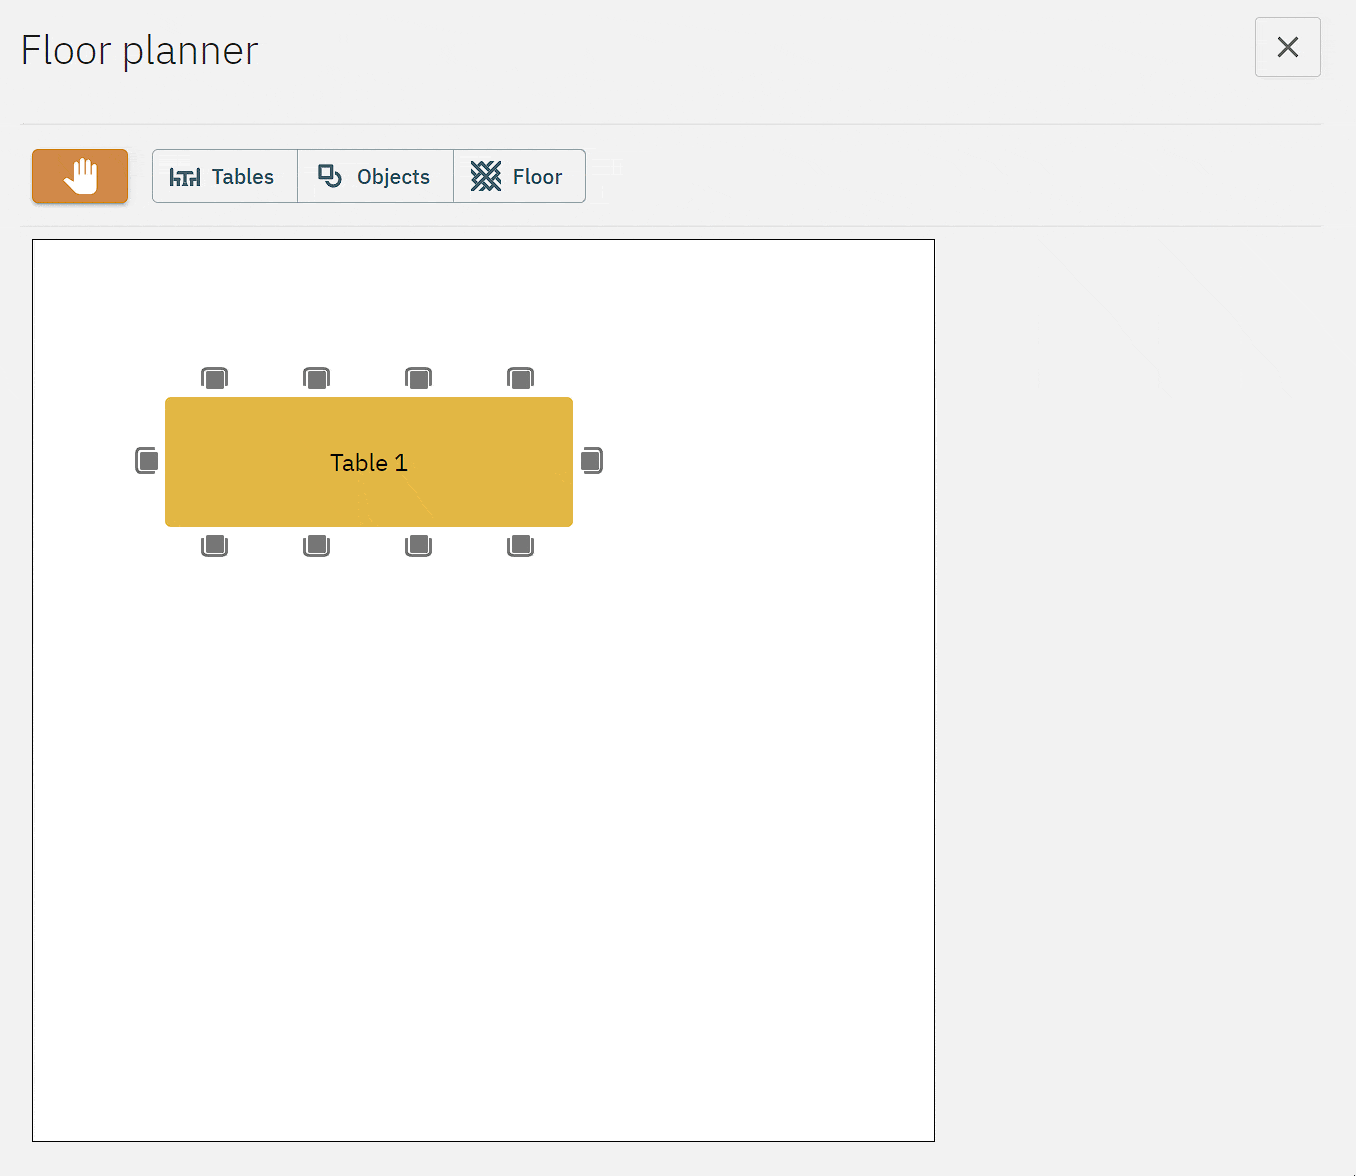
Adding a table
Tables can be added by selecting Tables, then either by dragging on the floor plan or clicking Add table on the right.
Table name can either be selected from already existing tables or a new one created.
Chairs is the maximum number of people that can be seated at the table, different sides of the table can have different amount of chairs for a better representation.
Copying a table
A copy of a table can be made by selecting the table and pressing the copy button in the right side menu.
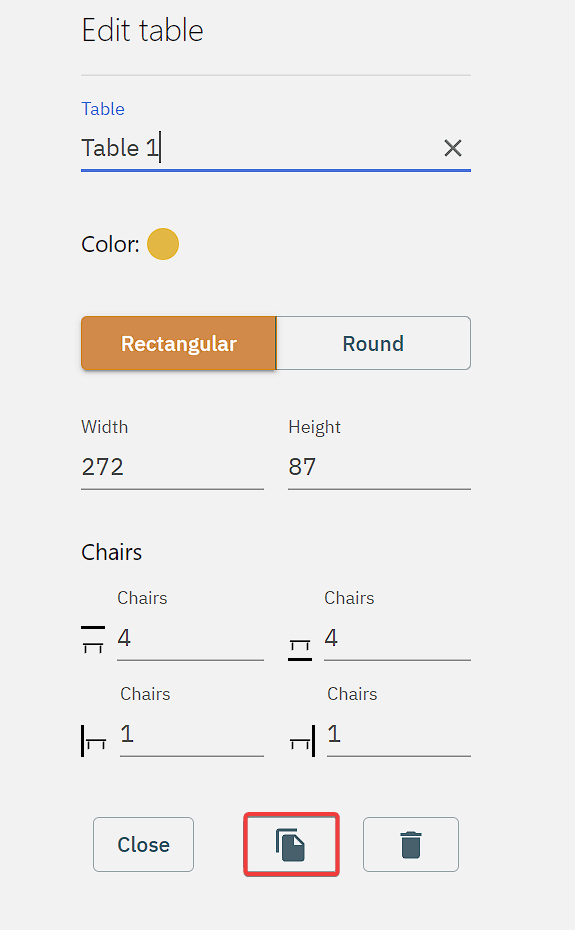
A copy of a table will have the same table number as the original and by clicking on the copy, the table name can be changed from the right side menu.
Adding objects
Objects are used to illustrate the floor plan and serve no functional purpose other than making the floor plan easier to understand.
Objects can be added by selecting Objects, then either by dragging on the floor plan or clicking Add object.
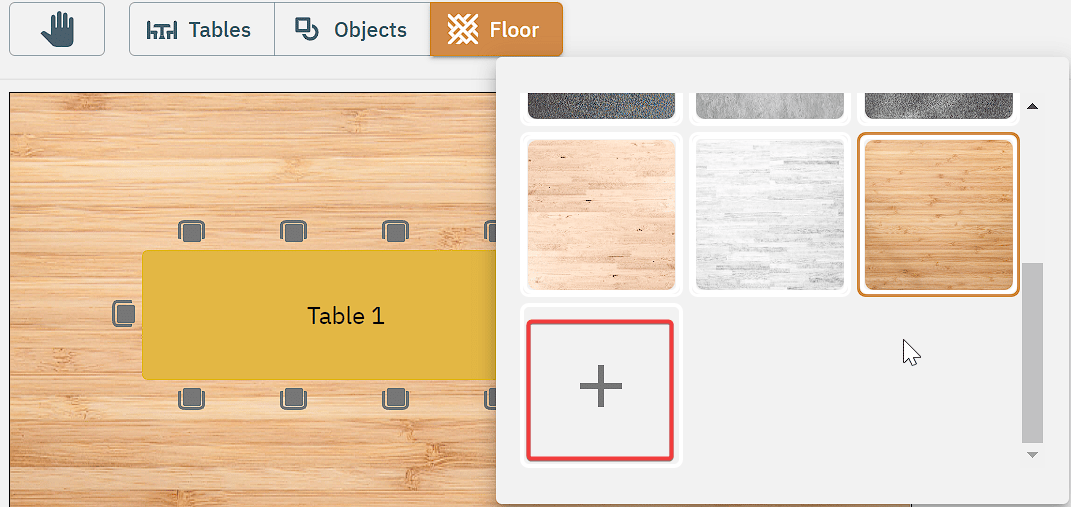
Changing the background
Backgrounds just as objects are used to make the floor plan more recognisable .
Backgrounds can be changed under Floor, some presets are available, though by scrolling down and clicking on the “+” a custom background can be added.